Ski Essentials for Beginners

Part 1: Planning and Preparation
For the sake of this post, I will assume that you have an upcoming ski trip or vacation you are planning and that you or someone in your party is a beginner who might be a little anxious about how everything will go. I will take you through the same processes I go through when I travel to ski.
#1 – Plan the right amount of time
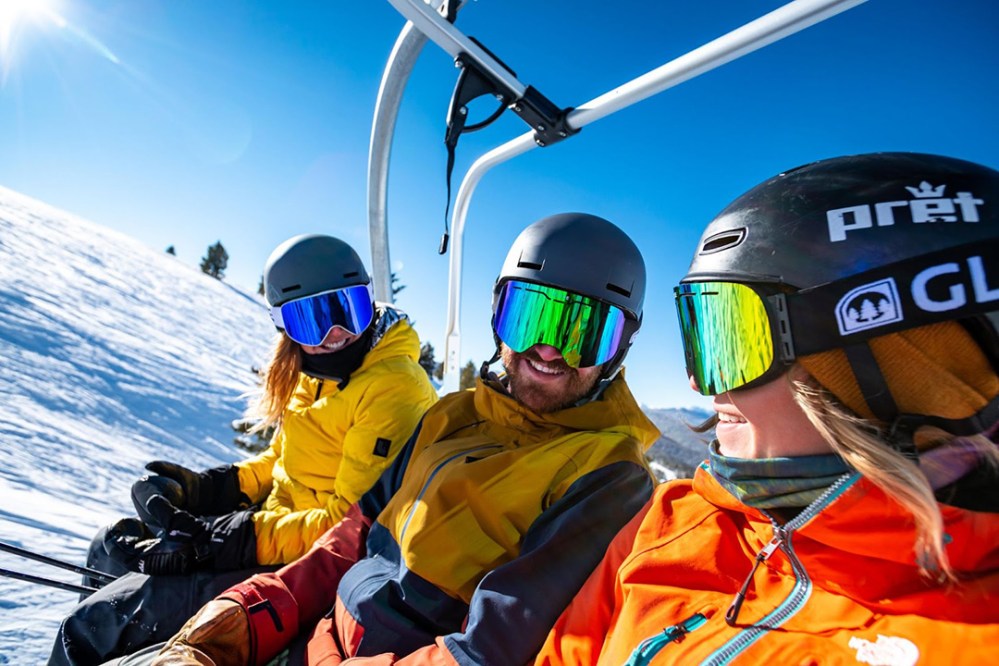
It’s important that you plan enough days so that you can become successful and proficient at skiing. Don’t set such high expectations to have that happen in one day. That won’t be enough time to learn and really begin to enjoy skiing. I recommend 3 days minimum. If you are traveling a further distance, plan to ski 5 of 7 days. It will take at least 3 days to get the hang of skiing and get familiar with the resort and ski runs. I would plan to ski 2 days, then a day off, ski 2 days, another day off and then one last day of skiing. By the end of a 7 day trip you will become proficient with skiing and you will be dying to go on the next ski trip with friends and family.
#2 – Get in Shape
This is the same whether it’s your first time skiing or if you are going heli-skiing. You don’t want to use your precious vacation time trying to get your ski legs. You want to look and feel your best when you arrive. Keep in mind the change in altitude. Most ski slopes in Utah range from 7,000 to 11,000 ft. in elevation. If you are coming from sea level, the air is much thinner and you will feel like you can’t breathe. Do lots of walking, running, biking and leg workouts. Get on the treadmill or go to the gym. Walk around the block and get into a regular routine. Start exercising before you make your flight and hotel bookings. You will feel much better and your chances of success will increase. If you get winded going from your main level to the upstairs, you will want to give up skiing after half a run and that would be a shame.
#3 – Book ski lessons in advance

If you plan to travel over holidays, this is a must. Lessons can be expensive but well worth every dollar spent. Uncle Phil might be a great skier and that’s who taught your Mom to ski in the 70’s but do yourself a favor and leave it to the professionals. They won’t take you to the top of a Black Diamond run on your first go and leave you for dead. Each ski area will operate their own ski school. You will need to book with the resort you plan to ski. For your first trip don’t get sucked into trying to go to multiple resorts. Get familiar with one. You will learn the runs and your skiing will improve quickly. You won’t spend your day lost or trying to navigate terrain trying to figure out where you are. I suggest booking two half-day morning lessons. That way you can work on what you learned in the morning on your own in the afternoon. Then if you feel like you need more help you can book more lessons for the remainder of your trip. Tip your instructor the first day and they will be more than willing to accommodate your schedule and help with a number of things.
Pro Tip: Make sure you know the location the ski school operates out of because you may end up driving to the other side of the mountain to meet your instructor or class. Also, if you are staying on the mountain at a ski in/ski out location, make sure there are beginner slopes to and from your accommodations. Not all ski in/ski out locations have easy terrain that service them. Check ahead of time so you are not surprised when you arrive.
#4 – Rent the Proper Gear
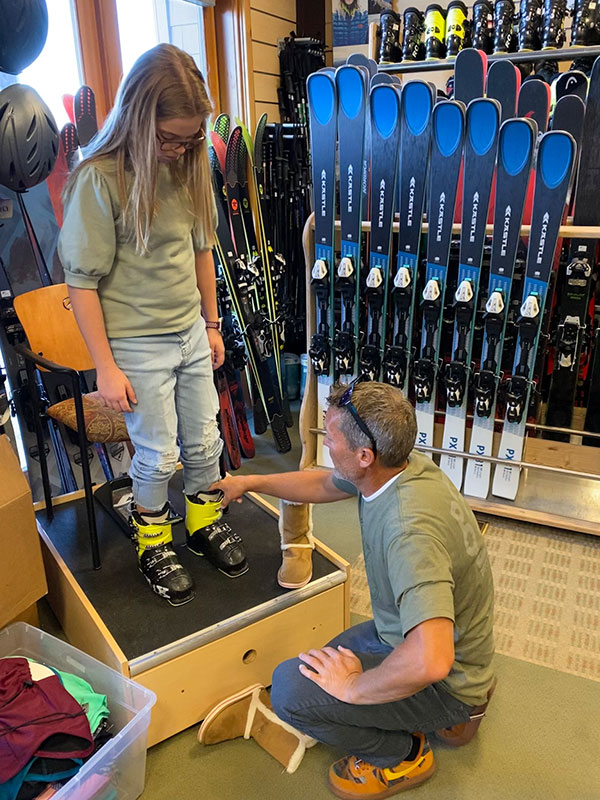
For your first ski trip don’t purchase skis, boots, poles and a helmet. Plan to purchase a ski rental package at the mountain or have it delivered to you. This is a simple process that doesn’t always get the credit it deserves. Find a delivery service or shop that will take the time to measure your foot and get you into a properly fitted boot that is easy to flex. Too many times guests stop skiing because their feet hurt. Most of the time it is because they are in a boot that is way too big. You will hear from your friends, “Make sure you get a boot that is comfortable.” What they mean to say is, “Get a boot that matches your foot shape or that fits your individual foot.” What you hear is, “I need a really big boot, that way it’s comfortable.” Don’t make this mistake. For more info on selecting the right boots, check out my other post. A good rental outfit will be able to put you in good fitting boots and soft flexing, easy-to-ski skis that will make your experience a success. Ski techs are trained to get you on the proper gear that will make it easy and safe. Make sure to rent a helmet as well. Most ski areas require them, if you are taking ski lessons.
#5 – Get Fitted with Proper Ski Clothing and Accessories
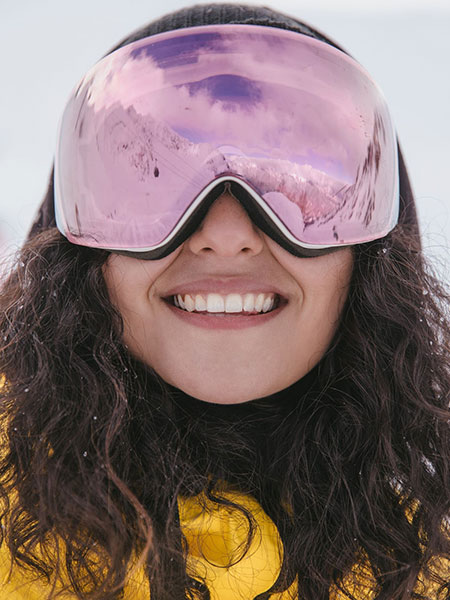
Happy skiers always have the proper clothing. We hear all the time, “My feet are cold,” “My kid’s hands are cold,” or “I was freezing today.” Spend some time and money to get outfitted properly. You will forget what you pay for these items because they will keep you warm, comfy, and safe. Quality gear will last for many seasons. Most of the time when guests are cold it is because they spent $20 on a pair of gloves that are not waterproof or they can’t see because they bought a helmet and goggle combo at Costco. Go to a reputable shop and get properly outfitted. Make sure you are buying or renting gear from individuals who actually ski. If you are buying gear from a shop that you cannot see snow then you are in the wrong place. It’s funny to me how many ski shops (like Peter Glenn’s) are in Florida. Hint: there are ZERO surf shops in Utah; any guesses why?
Part 2: Proper Clothing and Gear
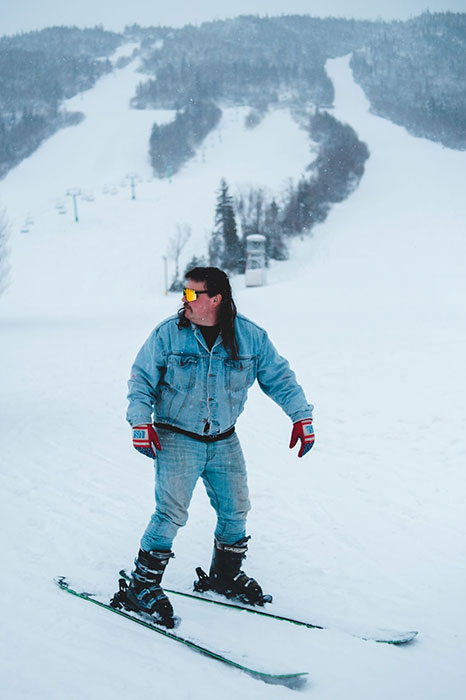
I can’t overemphasize the importance of proper gear. It’s crucial to your success, safety, and enjoyment of your day on the mountain. So here’s a more in-depth look at how you should outfit yourself to ensure you love every minute of your ski trip. Let’s Start from the inside out.
#1 – Long Johns or Long Underwear
Purchase something wool or a synthetic blend. Cotton hoodies and sweatpants are not ski clothing. A Capri or ¾ length is great. You don’t want them in your boots. Don’t get a stirrup type pant. If it’s full length, then make sure it can be folded or pulled up above the calf or just below the knee. The socks will cover the rest. Make sure you get the appropriate weight or thickness, depending on colder or warmer climates. If you tend to get cold easily go thicker and likewise if you are always overheating, get something thin.
#2 – Good Ski Socks
I recommend over-the-calf length, not mid-shin socks. Thin and lightweight is the key. Bring merino wool blend socks and wear only one pair at a time. Bring a fresh pair for every day of skiing. You will thank me and so will your travel companions.
#3 – Mid-Layers
These are a great insulator for the colder days. They can also have a double purpose for Après Skiing or evening wear or out to dinner or the bar. Fleece, synthetic or wool are the best options. I love wool! It doesn’t stink and it is a natural temperature regulator. It will insulate even if it’s wet and it will also cool if you are overheating. Some of the new Smart Wool Products and merino wool are the best options. They are soft and supple and don’t itch like old fashioned wool sweaters.
#4 – Waterproof/Breathable Ski Pants

Fit and function are paramount here. You want to be able to move in the pants. Most customers go too thick here. The normal way of thinking is, I don’t want to be cold. If you get something that will remain dry and something that will knock down the wind, then it will naturally be warm. If you are skiing sub zero days, then you might want something you can add a fleece layer to and warm up on those days.
#5 – Waterproof/Breathable Ski Jacket
There are tons of options here. Do you prefer a hood or traditional ski jacket without the hood? I personally love having a hood. It is so easy to warm up on really bad weather days by just pulling your hood over your helmet. If you don’t plan to ski in bad weather then I would forgo the hood. I will always recommend a jacket that can be zipped all the way up past your mouth to your nose. That way you can stick your entire face in the jacket when the conditions change. There are plenty of options with tons of pockets or simpler styles as well. Get something you like and that fits your needs. Sometimes with too many options you will forget where you put something.
#6 – Helmet and Goggles
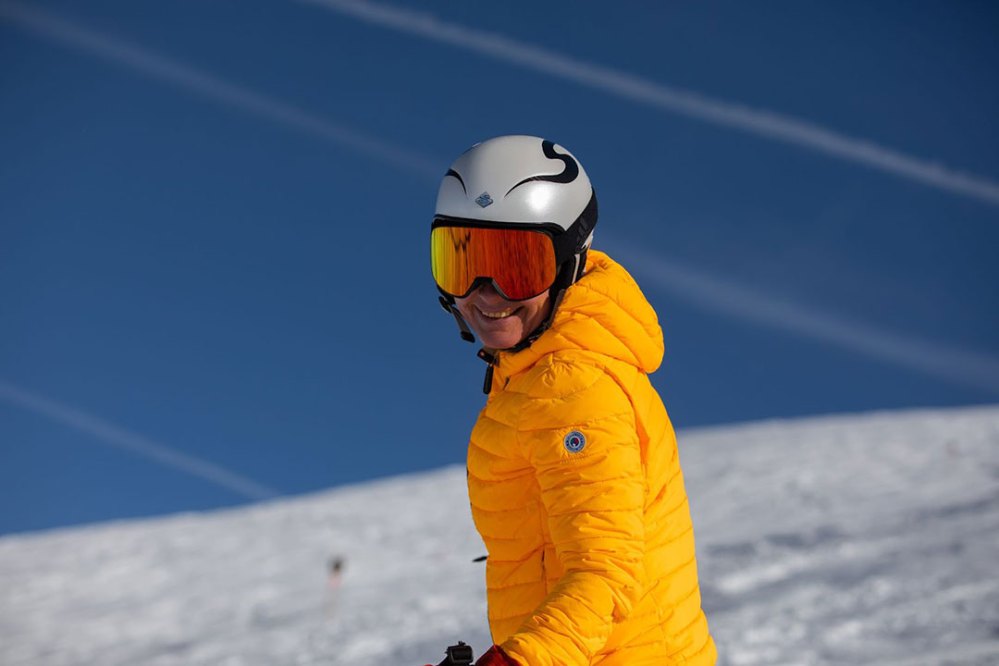
Find something that fits. If it’s not comfortable it won’t protect you. Helmets with MIPS are a great option to protect your melon. The main issue with a helmet is that you will be too warm. Make sure it is well ventilated or has open and closable or adjustable vents. You can normally purchase a good fitting ski helmet for the same cost as renting one for 4 days.
Purchase your goggles with your helmet. Make sure they fit together and will vent properly. There are lots of great options for different conditions (e.g. snowy/dark days vs sunny days). We sell multiple goggles that have interchangeable lenses so you get the best of both worlds.
Pro Tip: Sunglasses don’t make for a good ski day. Glasses won’t protect you from the wind and snow glare.
#7 – Ski Gloves or Mittens
This is something that can make or break your trip! Get something that fits well and is comfortable and ergonomically shaped so it’s comfortable holding a ski pole. I prefer gloves. They have better dexterity, and I can adjust my boots, zippers and googles easily. I can also help my kids with things they need. If you tend to get cold, a mitten or 3-finger might be a better option. We sell more gloves to men and more mittens to women. The 3-finger or trigger mitt is a great in-between option. I recommend getting something with a leather palm. It will be more durable and last longer. Waterproofing is a must because dry hands are warm hands. Our best-selling glove is the Hestra Heli-Guide. They make it in a variety of colors and in glove, 3-finger and mitt options.
#8 –Sunscreen and other Accessories
Whether it’s cold and cloudy or bright and sunny you will need sunscreen and lip balm. On the cold days it will protect against wind burn and on the sunny days it will keep you from getting fried. I love a product called Ski Naked. It works all the time. Most skiers don’t realize how intense the sun is at higher elevations but also the amount of sun glare that bounces off the snow.
Anti-fog cloths or anti-fog spray are a must. Make sure you have something to clean your goggles with.
Beanies, balaclavas and neck gaiters are great for cold snowy days. They are easy to pack and wrap your goggles in for travel protection. I love little ski straps and bootstraps that make your life easier to haul or carry gear.
#9 – Skis, Boots and Poles
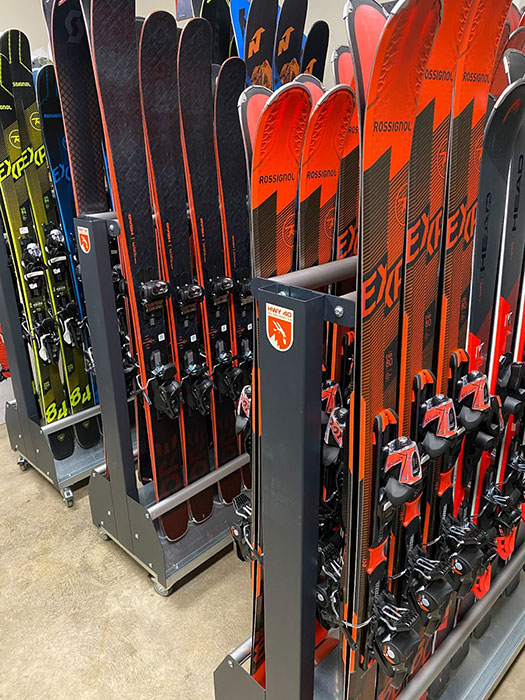
If you’re a beginner or intermediate skier, please rent good gear when you arrive or go online and make a booking with a reputable company. A good ski rental shop will be able to outfit you with new gear that will be much cheaper than purchasing and hauling it all over the country. Plus, you will have new gear every time you ski rather than having to buy it every 5 to 10 years. As you become a better skier and ski more often, purchase good fitting or custom fit ski boots with a professional boot fitter. That way it’s easy to take your boots with you and just rent the skis.
Remember, skiing is one of the greatest outdoor adventures you can have and making sure you’re properly equipped will make the learning experience that much better. Don’t be overwhelmed, just be prepared!
